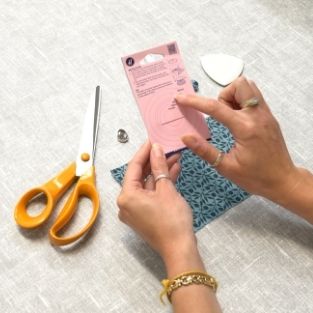
Step 1:
On the back of the self-cover button packet, you will find a template to cut out depending on the size of your chosen self-cover buttons. Cut out the right sized template.
Top tip: For a beginner, we recommend cutting out your template slightly larger.
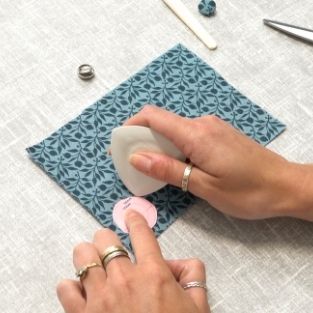
Step 2:
Next, place your cut out template onto your chosen fabric and draw around with chalk. Now, using your scissors, cut around the circle marked on the fabric.
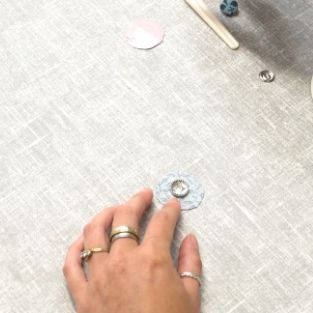
Step 3:
Place your piece of cut out fabric face down and set the button as central as possible on top, facing down.
Step 4:
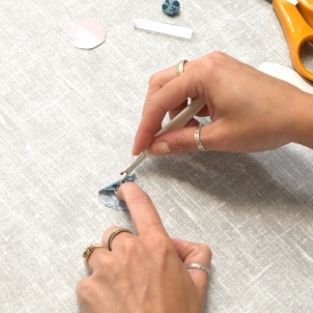
Next, hold the button in place and lift the fabric over the button, tucking the fabric under the teeth of the inside of the button. Make sure you tuck the fabric as far underneath as possible.
Top tip: A seam ripper is the perfect tool to do this.
Step 5:
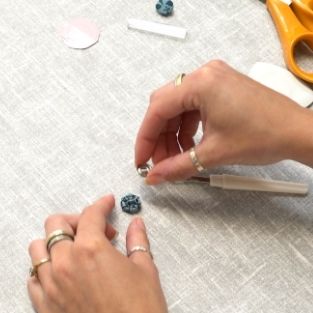
Once you’re happy you’ve fed the fabric into the teeth, as much as you can, take the back of the button and place it onto the front piece of the button. Make sure the sides with the sharper ridge are facing down. Press down the back until you hear a click, it will then be clamped in place.


