Step One
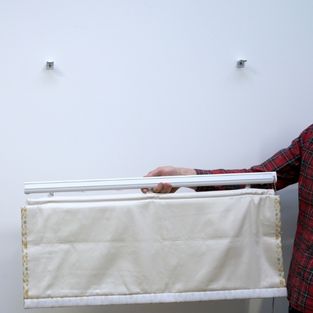
Install your Roman Blind brackets in the chosen location with the relevant fixings. Our Roman Blind brackets can be fitted to a wall or ceiling.

Step Two
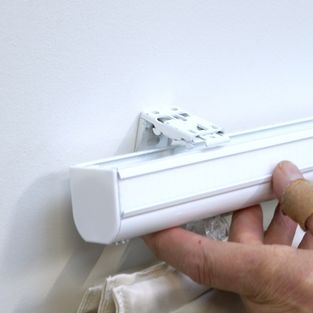
To install the headrail into your brackets you will need to peel off the velcro from the top of your Roman Blind and then angle the headrail onto the front groove of the headrail and push until it clicks in place.

Step Three
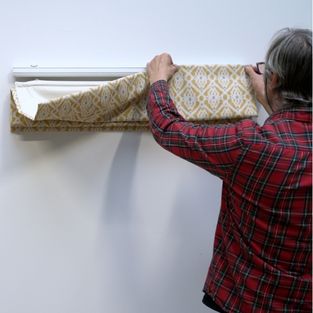
Reattach the velcro from the blind onto the headrail. Adjust if necessary, by peeling back the velcro and sticking back into the desired place.

Send us a photo
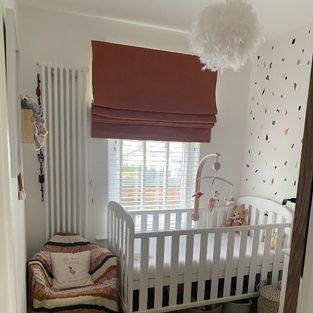
Now your Roman blind should be hanging beautifully in your room, and we’d love to see what it looks like. Email us a photo to orders@justfabrics.co.uk for a chance to be featured on our online gallery and win a £10 voucher off your next purchase.


