


Step 1
Cut two x 5” squares of your main fabric, one x 5” square of another fabric and two x 5” squares of your interfacing.

Step 2
Fold one square of interfacing in half and cut to make 2 two triangles.

Step 3
Next, place your square of fabric face side down and line up your triangle of interfacing on top with the glue face side down. Now iron into place.

Step 4
Fold the fabric over in half, so it covers over half of the interfacing and press with iron.

Step 5
Now place one of your main pieces of fabric face side down and place the triangle on top. Place the other piece of your main fabric on top, right side down.

Step 6
Pin the three layers into place.

Step 7
Machine sew around the edges, making sure to leave a gap on the final side.

Step 8
Clip the corners, this helps the points to be neat at the end.

Step 9
Pull the fabric the right way around through the gap that you left. Using a point, make sure the corners have been pushed out well.

Step 10
Iron around the seam and also the part that hasn’t been sewn together yet to create a straight edge. Top stitch around all the edges, making sure to sew the gap closed.

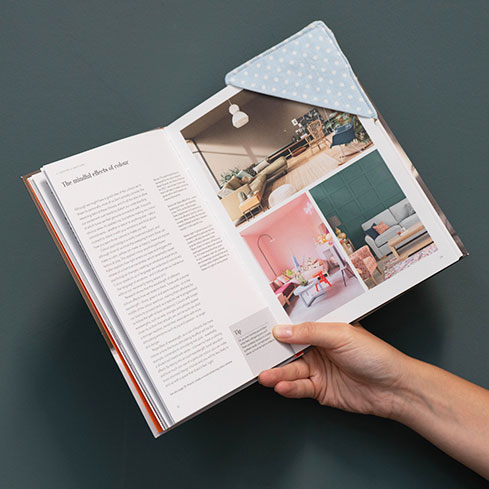
Step 12
Cut all the loose threads and you now have your corner fabric bookmark!