


What you will need:
Sewing Machine
Fabric Scissors
Pins
Fabric – consider choosing two contrasting designs
Trim
Fabric pens
Measuring Tape

Step 1:
Firstly, you need to cut out the back of the Cutlery holder. Measure and cut two, 12cm x 26cm pieces of fabric. For the pocket measure and cut two, 12cm x 16cm pieces of your contrasting fabric.

Step 2:
Next you will need to stitch your trim to the front of your pocket. Place the trim on the pocket and cut to size. Just above halfway pin your trim to the front pocket and sew in place using your sewing machine.

Step 3:
Now you will need to take your front pocket piece and attach to the front lining piece. Place the right sides together and pin and stitch the top together. Press along the seam and fold over making sure the seam is slightly on the inner side of the lining so it's not visible.

Step 4:
Take your larger rectangle pieces of fabric and make sure the pattern is facing the correct way up. Place your pocket on top of one rectangle ensuring the bottom edges align. Then take the other rectangle piece and place the right sides together making sure the pattern is the correct way up.

Step 5:
Pin around the sides and bottom leaving the top edge open. Use the sewing machine to sew around the rectangles making sure you use the same seam allowance all the way around.

Step 6:
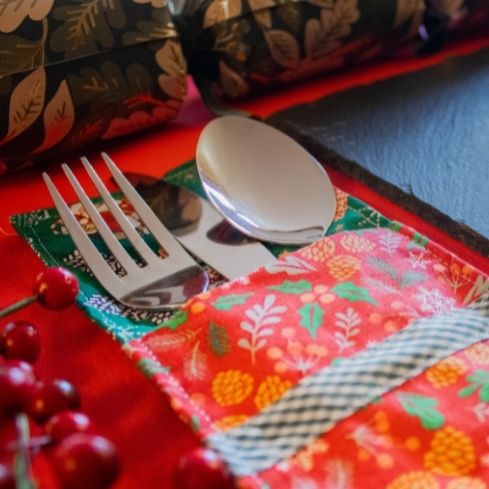
Snip the bottom corners and then pull the holder around the correct way. Now you need to fold the raw edges in, pin together and then top stitch all the way around the edge. Your DIY Christmas cutlery holder is now complete.