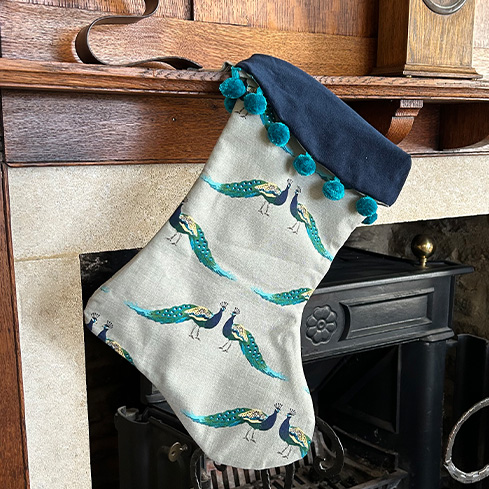
What You Will Need
- Needle
- Pins
- Pom Pom Strip
- Thread
- Fabric
- Scissors
- Tape Measure
- Sewing Machine
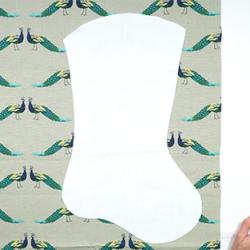
Step 1
Firstly, you need to start with a stocking template. You can either make this by hand or download and print our free template that can be found below. Today's template that we're using is 49cm long and 31cm wide.
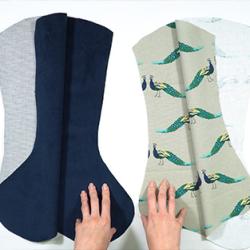
Step 2
Next, you need to use your template to cut out 2 pieces of your main fabric and 2 pieces of your lining fabrics. Make sure to flip and mirror the template for your second main and lining fabric pieces to ensure the pattern is correct.
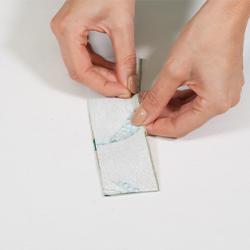
Step 3
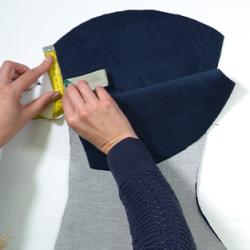
Now we're going to create the loop. Firstly, cut 2 18cm by 5cm rectanges of either your main or lining fabric. Next, put them right sides facing, then pin and sew two of the long edges and one of the ends. Leave one end open so you can turn it right sides out later on.
Step 4
Now, fold your rectange in half to create the loop and sandwich it between the two lining fabrics with right sides facing, around 7cm down from the top edge on the back of the stocking. Pin the loop in place.
Step 5
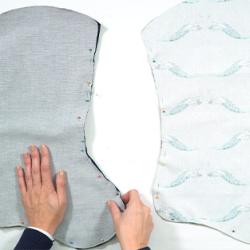
With the lining pieces facing right sides together and the main fabric pieces facing right sides together, pin around all the edges except the top edge. Leave the top edge open as this is where the pom poms will be fitted.
On the lining fabric piece, leave a 7cm gap on the shorter side edge of the stocking open as this is what you'll use to turn the fabric right sides out later on.
Sew around all the pinned edges on both the main fabric and lining fabric.
Step 6
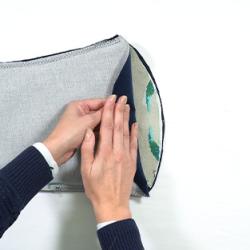
Next, turn our main fabric pieces right side out using the hole left at the top. Then, insert the main fabric piece into the lining fabric piece, alliging the raw edges at the top where the main fabric and lining fabrics should be right sides facing.
Step 7
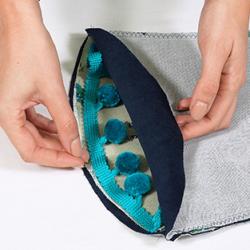
Now it's time to add the pom pom trim. Firstly, cut your pom poms to the same length as your top edge. Position the pom poms along the raw edge, sandwiched between the main fabric and lining fabric. Make sure the pom poms are facing down into the stocking so the raw edge of the braid is alligned with the raw edge of the fabrics and pin in place.
Repeat this with the other side of the stocking, making sure the middle of the stocking is left open. When you're happy with the placement of both sides, sew them into place at the sewing machine.
Step 8
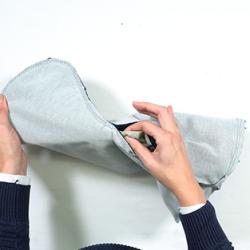
After you've sewn the pom poms into place, use the hole left in the lining fabric to pull everything through so both the main fabric and lining fabrics have right sides facing outwards.
Next, steam the stocking to ensure its flat and smooth.
Step 9
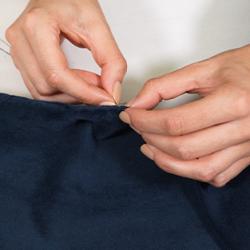
Stitch the hole in the lining fabric closed with a ladder stitch. Try to colour match the thread just to further ensure its not visible.
Finally, put the lining fabric inside of the main fabric to form the stocking and fold over the top edge.


