


Step1
Firstly, measure how long and wide your table runner will need to be, specific to your table’s requirements; then, cut out two rectangles, this will form the length and width of your table runner.

Step 2:
Next, for the pointed ends, mark the centre of your fabric on each of the short sides and then measure 25cm down the fabric lengthways and mark on both sides. Using these marks, cut a straight line from both sides to the top.

Step 3
Then, place to two pieces of fabric right sides together and pin around the edge and make sure to leave a gap.

Step 4
Now, sew the edges together on your sewing machine and leave a quarter of an inch seam allowance. Afterwards, trim all the excess threads.

Step 5
Using the gap, you have left, turn the table runner right side around before pinning the gap closed.

Step 6
Finally, top stitch around all of the edges of the table runner on your sewing machine.
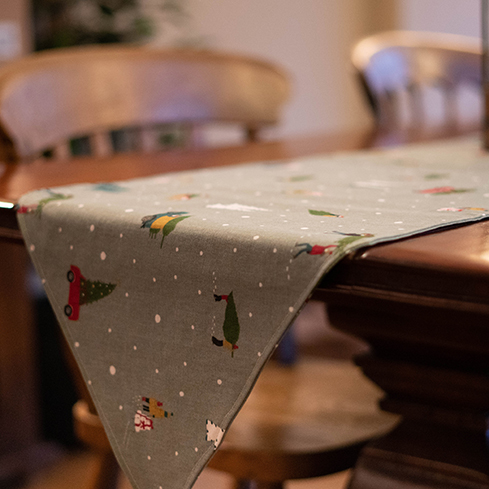
Your Christmas table runner is now complete and ready to be used for all your festive dinners and lunches this Winter!