


What You Will Need
- 2 x fabrics
- Pins
- Tape Measure
- Chalk Pencil
- Safety Pins
- Scissors
- Iron
- Sewing Machine
- Ribbon / Drawstring

Step One
Firstly cut two 20” wide x 22” long pieces from your main fabric and repeat this with your lining fabric.

Step Two
On one of the longer edges, using your chalk pencil, mark 2” down on your main fabric and lining.

Step Three
Now, place your lining pieces right sides together and repeat this with your main pieces of fabric. Starting from your marked 2” sew around the three edges. Leaving the top edge unsewn.

Step Four
Trim all the corners so they create sharp and tidy edges once turned around the right way on the main and lining fabric.

Step Five
Press all the edges with the iron and turn down the top to create a channel for the drawstring.

Step Six
Where you had marked the 2” on the top of your fabric pieces, pin and stitch together on sewing machine.

Step Seven
Now, turn only the main piece of fabric right way around and insert the lining into the main fabric. Turn down the top piece, leaving enough space to insert the ribbon or drawstring to push through.

Step Eight
Make sure the sides are lined up and pin the edges, now sew.

Step Ten
Using a safety pin, attach to the piece of chosen ribbon or drawstring and feed through the channel you have created.
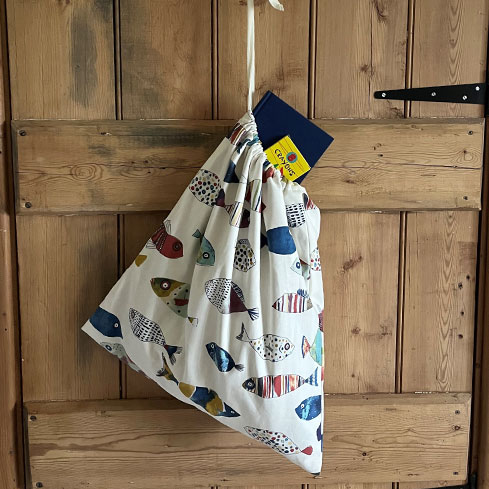
You now have your finished drawstring bag.