What Materials do I need?
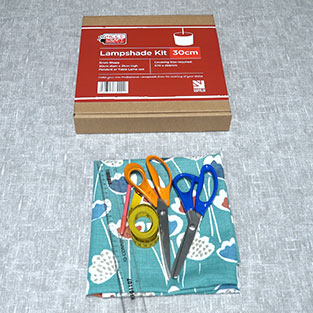
To start making your drum lampshade, you will need the following:
- Your chosen fabric (half a meter will be plenty)
- Drum Lampshade Making Kit (we stock 20cm, 30cm and even a 40cm extra large drum lampshade kit on our website)
- Scissors
Step 1
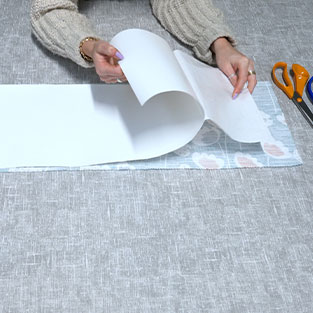
We are basing this tutorial on a 30cm lampshade, therefore we have cut a 30cm piece by 100cm length using our 30cm drum lampshade kit. There are two other sizes available and a different fabric quantity is stated. Lay the PVC paper with gridlines facing down onto the back of the chosen fabric. Peel away the backing paper and gently stick to the fabric as you go, using one hand to pull away the paper and the other to smoothly stick the PVC to the fabric. Make sure all PVC is pressed firmly to the fabric.
Step 2
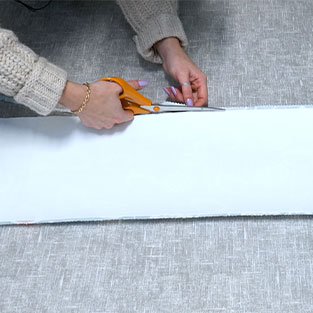
Cut the excess fabric neatly around the PVC template. You will see that there are ‘kiss cuts’ already on the PVC panel - carefully peel these edges away. Next, stick the provided double sided tape onto one edge of the PVC panel and peel.
Step 3
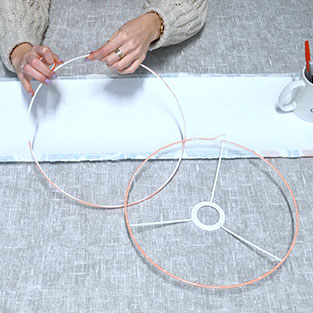
Place the fabric panel aside and next coat the lampshade rings with the double-sided tape. Try to keep the ring in the middle of the tape throughout and proceed in sticking one side of the tape all-around the lampshade, leaving a 3mm gap when meeting at the other side. You now need to manipulate the tape around the edge of the ring, trying to cover as best as possible. Repeat this process onto the second ring.
Step 4
If using a directional patterned fabric, now is the time to decide what type of drum lampshade you are wanting to make - a pendant or a table lamp; this will then determine the direction of your pattern.
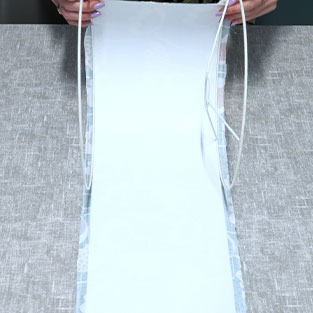
Next, you need to carefully peel the tape on the rings and position onto the edge of the PVC panel. The utility section of the ring needs to be inside pointing and we are going to start rolling from the edge which does not have the tape that you placed in Step 2. With the rings positioned on the edges of the PVC begin simultaneously rolling along the length of the PVC.
Step 5
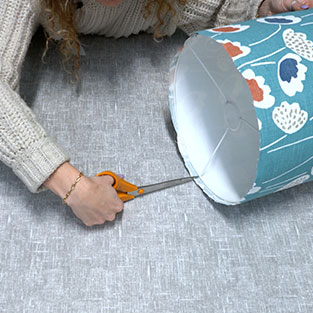
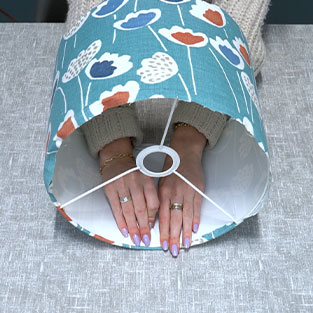
Reaching the end of the PVC you now need to gently press the seam, do this by pressing onto a flat surface, you can use your hand or a seam roller. Where the seam overlaps, cut away the inside edge, this will make it tidier when moving onto the next step. Additionally, make small cuts into the fabric where the spokes are, this again will help for a perfect tidy finish! Do the same on the top and bottom of shade.
Step 6
We are nearly there! Now carefully push fabric around the rings to ensure the fabric fully adheres to the tape, again bottom and top. Using the finishing tool, push the fabric underneath the ring, making sure to push frayed edges underneath to and trim any longer threads.
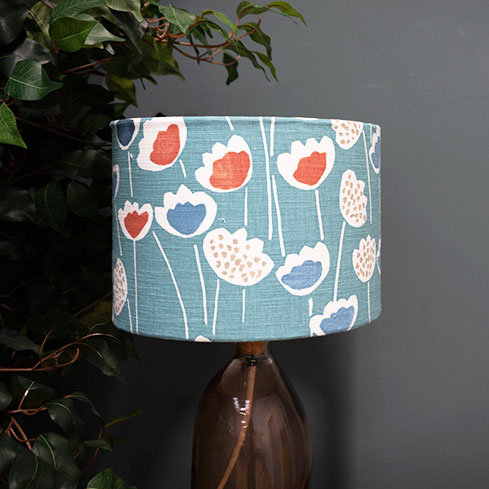
You should now have your perfect drum lampshade, handmade by yourself and made to perfectly suit your home!
Limitless Options
The craft is very versatile and there are limitless options. How about adding trim to the top or bottom? And maybe even using a contrasting fabric for the inside of the shade? See link on the left for a step by step video, following these instructions. Get crafting!


