


What you'll need
- 1 x Fabbies Face Mask Kit
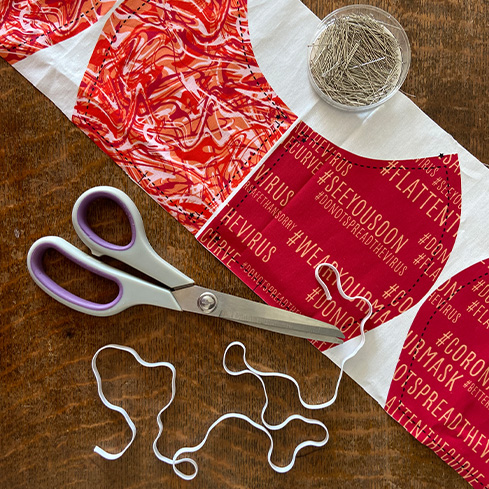
- Scissors
- Pins
- Sewing thread
- Sewing machine (or by hand)
- Iron & ironing board
Optional:
- Face mask filter
- Metal wire
How To Make a Square Pleated Face Mask

Step 1
Choose the design you want to make and matching lining, cut out the face mask and lining along the edge of the design. Next, pin the pleats following the guides on the fabric and Iron the folds. Stitch these pleats.

Step 2
Sew a seam in the bottom using the dotted line guide on the fabric. Fold the fabric at the bottom of mask where the star marks are. Pin pleats in the lining following guides, iron the folds and then stitch pleats.

Step 3
Cut two lengths of elastic – we recommend this is cut between 16cm – 20cm depending on individual taste. Lay the lining face up, and pin the elastic onto the lining just under the seam. Marking at the top and above star marking at the bottom. Repeat on the other side and sew in place.

Step 4
Pin both of the mask’s right sides together, to secure sides and top of mask, leaving the bottom open. Sew both sides and top of mask together and cut the top corners diagonally. Turn the masks through the bottom and iron neatly. If desired, stitch the face mask all around the edge, remembering to not stitch up the opening at the bottom.

Additional Steps
Adding the metal wire:
- Cut a piece of iron wire, or chenille of approx. 9cm or use special nose braces
- Sew a foot width at the top from the centre front 4.5cm to the left and to the right.
- Slide the metal wire through the opening and the stitch both side
Adding the filter:
A filter can be fitted through the opening at the bottom
How to Make a Round Face Mask

Step 1
Choose the design you want to make and matching lining, cut out the face mask and lining along the edge of the design. Place the two parts with the same design, right sides together and pin in place.

Step 2
Sew the centre front seam and press seam open. Next pin the pleats following the guides on the fabric and iron the folds in the lining. Overlock the bottom edges of the mask of both the front and the lining using a zigzag stitch.

Step 3
Cut the elastic in two equal parts – we recommend this is cut between 16cm – 20cm depending on individual taste. Next pin each piece of elastic on each side of the lining on the star-marks and stitch the elastic in place.

Step 4
Iron and press the seams open and pin both mask’s right sides together, catching the elastic in between the layers and ensuring you fold at bottom using guide to create seam. Sew all around the mask but leave an opening of approx. 8cm at the bottom of the mask in the middle. Turn the masks through the bottom and iron neatly. If desired, stitch the face mask all around the edge, remembering to not stitch up the opening at the bottom.

Additional Steps
Adding the metal wire:
- Cut a piece of iron wire, or chenille of approx. 9cm or use special nose braces
- Sew a foot width at the top from the centre front 4.5cm to the left and to the right.
- Slide the metal wire through the opening and the stitch both sides
Adding the filter:
A filter can be fitted through the opening at the bottom
Please note these face coverings are not a medical device. Please see government guidance.