Step One
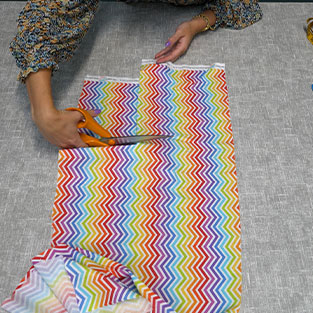
Measure and cut two pieces 11” x 9” of your chosen fabric and two pieces of the same size for your lining. You could use the same design or use a coordinating pattern or colour.
Step Two
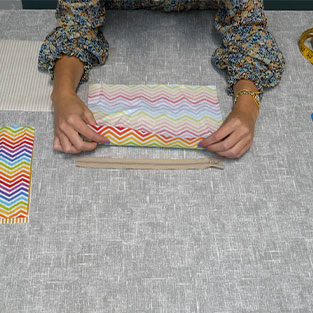
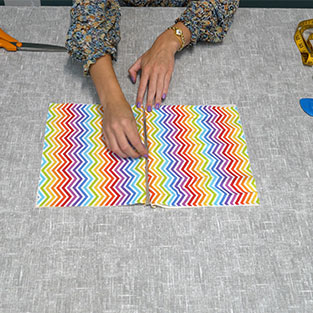
Place one piece of your outer fabric right side facing down and pin the zip to the top edge. Now place the lining, right side facing up, to meet the same edge. Pin along the zip and then stitch your pinned edge. Repeat this for the other side too.
Step Three
Once sewn, open your zip halfway and pin the remaining three edges together, and sew. Now you can trim the bottom corners to ensure you get sharp corners to your pencil case.
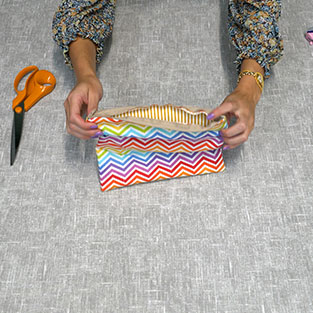
Step Four
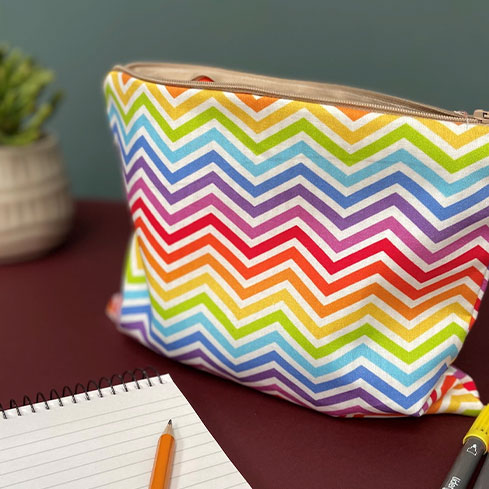
Turn your pencil case around the correct way and you have a completed fabric pencil case.


