


Watch our video on How to Make a DIY Fabric Scrunchie
Our easy how to guide will show you to how to make a DIY fabric scrunchie - the perfect project to use up your fabric scraps.
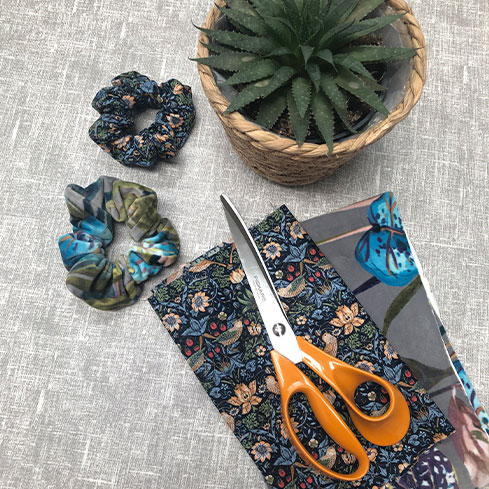
What you'll need
- Fabric
- Elastic
- Safety Pin
- Pins
- Thread
- Scissors

Step 1
First, cut your fabric to 54cm x 9cm - if you are using a patterned fabric, consider which part you want to be shown. Next, cut the elastic to 20cm.

Step 2
Fold your fabric piece lengthways, right sides together and pin together on bottom edge. Next, using your sewing machine, sew down the pinned side with a ¼ seam allowance.

Step 3
Attach a safety pin to the top end of one side of the fabric, use this to help turn the fabric right side out.

Step 4
Next, attach the safety pin to the edge of the elastic piece. Thread the elastic through the fabric, take care to keep hold of both edges and gather fabric until both ends are visible. Tie these ends together tightly.

Step 5
Fold raw edges over and using a ladder stitch (invisible), hand sew the two raw edges together. Stitch all the way around, and secure with a couple of back stitches.

Step 6
Now you have a fully sewn scrunchie that you can use as a beautiful hair accessory and looks great as a bracelet too. They are a perfect present for a friend and can be made to suit seasons!