


What You Will Need
- Fabric
- Bias Binding
- Sewing Machine
- Scissors
- Chalk
- Ruler
- Pins
- Acrylic Interlining

Step One
Firstly, cut out the squares of fabric, we are using 2 x contrasting fabrics and interlining, each square needs to be 8.5in. You can also used pre quilted fabric, but we are going to use interlining.

Step Two
Now you have your 3 pieces cut out, we are going to quilt them together. If you have quilters rule, that would be great to use, however we are going to use a normal ruler. Using the width of the ruler, line up the 3 pieces of fabric and go from one corner to the next, marking with chalk where your lines will be, these will be the stitch lines.

Step Three
Once the lines are all marked, stitch along all these lines on the sewing machine using a straight stitch.

Step Four
Once you have quilted your fabric, you need to attach the bias binding to one edge. You need to decide which fabric you would like as your outer edge, and then pin and stitch one side onto the edge of the fabric.

Step Five
Now fold the fabric over and pin the other side of teh bias binding to this side. Now sew this on the sewing machine.

Step Six
Once the bias binding is sewn on, fold this over 1 and 3/4 an inch, making sure that the edge you fold is correct for the inside and outside of the fabric.

Step Seven
Pin the fold into place, now fold the fabric right sides together and pin down the long edge and bottom edge.

Step Eight
To create a tidy finish on the edges, pin one side of the bias binding to the long edge and stitch together.

Step Nine
Next, zig zag stitch the bottom to make it nice and tidy.

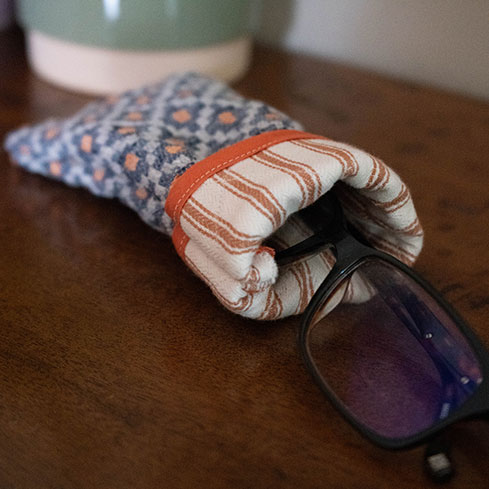
Step Ten
Carefully turn right sides around and you now have your finished glasses case!