
You will need:
Craft fabric
An iron
A sewing machine
A tape measure
Pins
Scissors
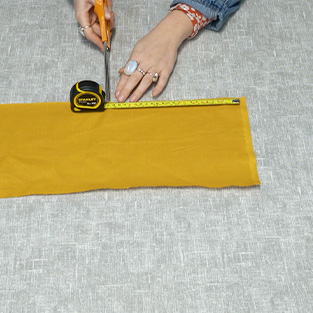
Step 1
Firstly, cut out one rectangular piece of your main fabric that measures 45x12cm and another smaller rectangular piece of your second fabric that measures 23x5cm.
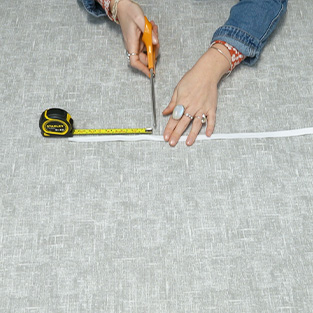
Step 2
Then, cut a 15cm piece of elastic with a width of around 1cm.
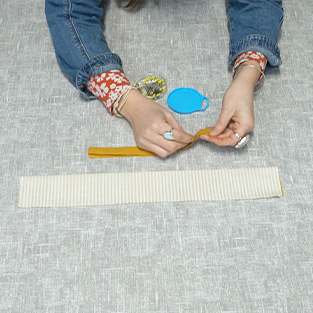
Step 3
Fold and press the two fabrics in half lengthways with wrong sides facing. Pin and sew along the raw edges, leaving the ends open.
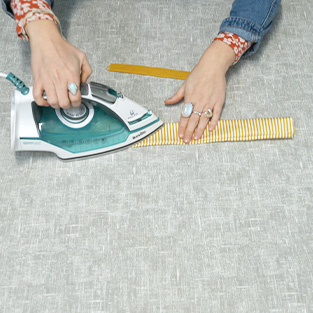
Step 4
Turn right sides out and press both pieces again, ensuring the stitched seams are up to the edges.
Step 5
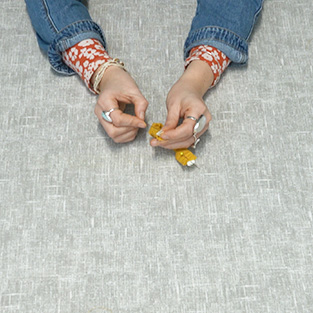
Attach a safety pin to one end of the elastic and thread it through the small fabric piece. Make sure to hold the elastic at one end. Then, pin and sew the elastic at both ends of the fabric.
Step 6
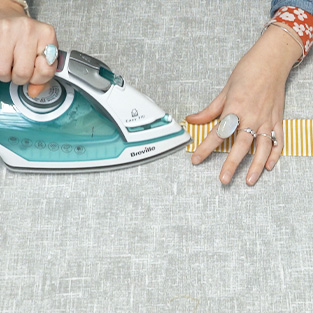
Then, take the main fabric piece, fold in the ends by roughly 1cm and press with an iron.
Step 7
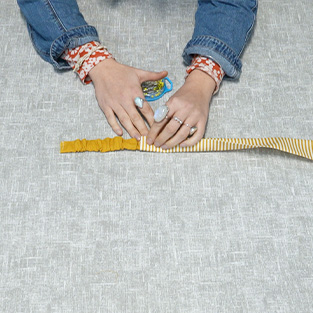
Place the elastic piece in one end of the main fabric piece, aligning it with one side. Then fold over the excess fabric and pin in place. Repeat this with the other side and sew both ends to secure.


