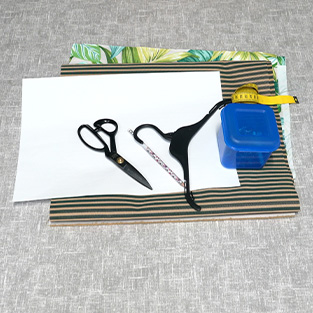
What You Will Need
- Tape Measure
- Pencil
- Scissors
- Pins
- Sewing Machine
- A3 Paper
- Small Coat Hanger
Peg Bag Sewing Pattern
If you're looking for a peg bag sewing pattern, simply download ours for free here.
Please note, we've used a children's coat hanger for our peg bag. Depending on the size of your hanger you might need to alter the size of our peg bag sewing pattern.
Step 1
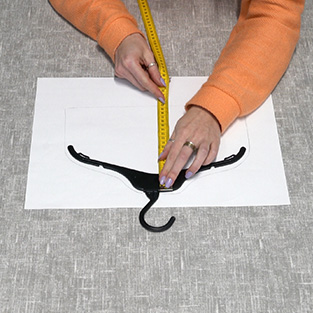
Firstly, you need to make the peg bag pattern using your small coat hanger. To make the top, trace around the top edges of the coat hanger, then down the sides and along the bottom. The gap from top to bottom should be roughly 18-20cm.
Step 2
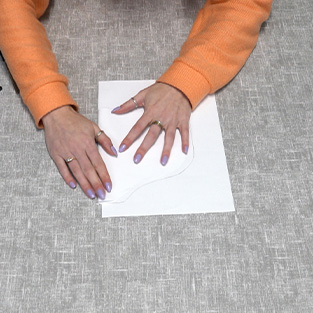
Next, cut out one half of the top section you just sketched and fold it in half. Then, using the folded half as your guide, cut out the other half of the pattern so you have a symmetrical top section for your peg bag pattern.
Step 3
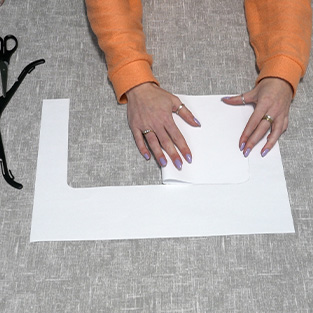
Now, using your top section as a guide, make a bottom section with the same width and a depth of roughly 20cm. Again, sketch out one half, cut it out and use it as a template to cut out the other half.
Step 4
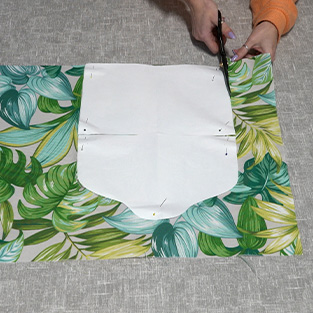
Now, we're going to cut out our all the required fabric. For your face fabric and lining fabric, you'll need 3 pieces in total for each. One of the bottom section, one of the top section and then one piece of the bottom and top section together.
Step 5
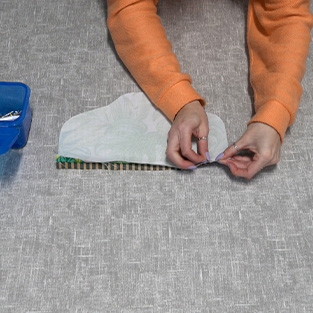
Next, take your two top pieces of fabric, one main fabric piece and one lining fabric piece and make up the straight edges with right sides facing. Put a pin at each end of the long edge to hold them together.
Step 6
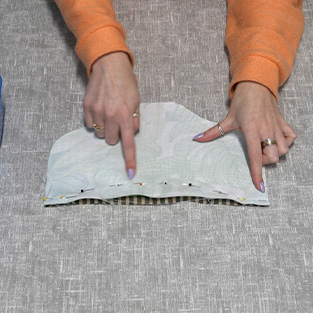
The next thing you need to do is create the opening for the bag. To do this, create a gradual semi circle with your pins that comes off the straight edge. Then, sew along the semi circle.
Step 7
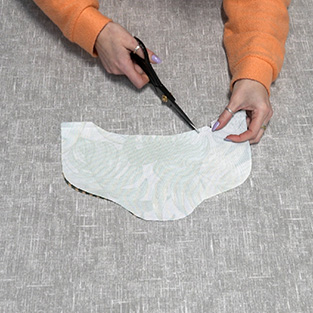
Cut along the stitching, following the semi circle shape and then cut notches along it too. This helps to make the curve smoother when the peg bags turned right sides out.
Step 8
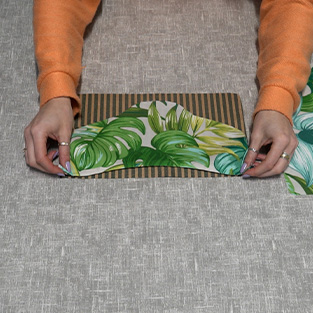
Now, press the top piece with an iron. Then, get your bottom lining piece and place it right side facing upwards. Put the lining side of the joined top pieces right side down on top of the bottom lining piece, lining up the top edges.
Step 9
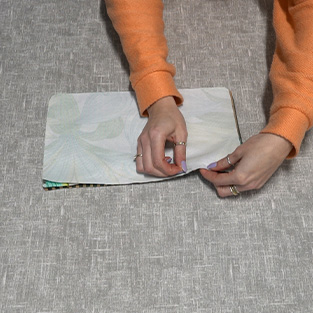
Next, get the bottom section of your face fabric and place it right sides down on top, lining up the curved corners and pointed corners. Pin and sew along the top straight edge.
Step 10
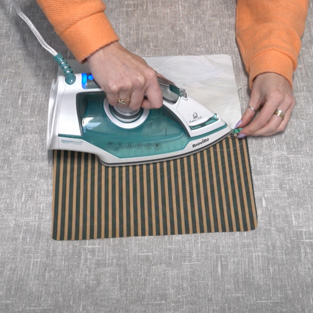
Take the pieces you just sewed together, open up the seam and iron along it to create a smooth finish.
Step 11
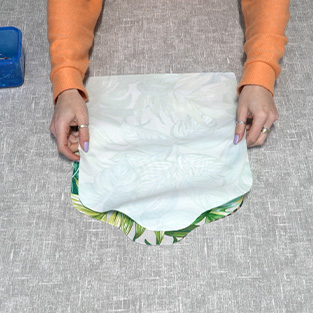
Now, you're going to make a sandwich of layers to finish off the peg bag. Firstly, take the full size face fabric piece, lay it right sides facing on top of the piece that has the semi circle opening and line up the top edges. There will be some excess fabric at the bottom, this is expected.
Step 12
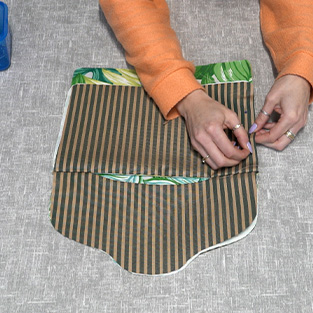
Following that, take your lining piece and have that facing right sides up. Pin all the way around the edges where all the fabric pieces meet but leave a gap at the top for the hanger.
Step 13
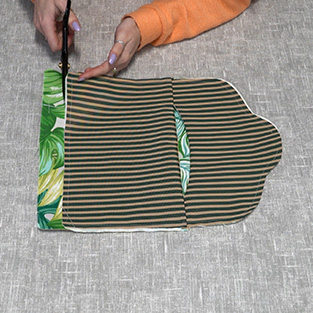
Stitch along the pinned edges of the peg bag and cut away the excess fabric from the bottom.
Step 14
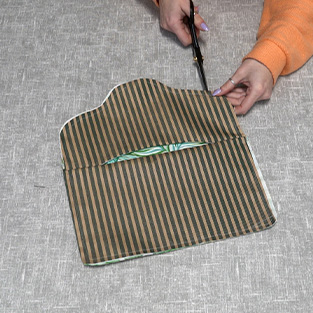
Cut notches along the top curves of the peg bag and then turn it right sides out.
Step 15
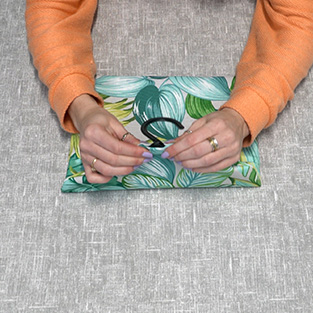
Press the edges of the peg bag and then insert your hanger. Fold in the fabric at the top of the bag and slip stitch this if you need to hold it in place.


