What You Will Need
- Needle
- Thread
- Sewing Machine
- Scissors
- Tape Measure
- Pins
- Wadding
Step 1
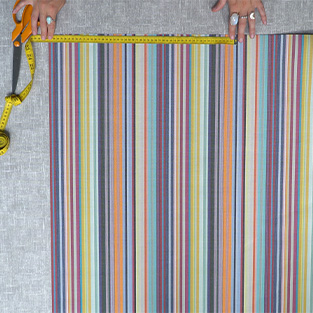
Measure the size of your chair and then add 2cm for the seam allowance. Our chair was 48cm by 48cm, therefore we cut out one 50 by 50cm square of your main fabric and one of your secondary fabric.
Step 2
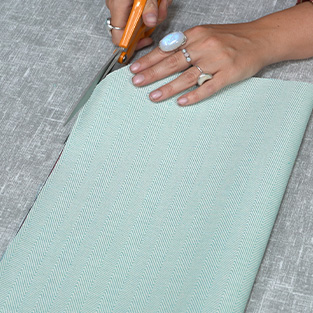
Place them right sides facing and fold them in half. Make sure if you have a pattern its going the correct way.
Round off one of the raw corners with your scissors.
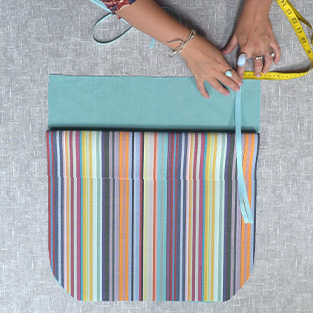
Step 3
Cut four 35cm pieces of your ribbon or bias binding.
In pairs, place your bias binding pieces sandwiched between the two fabric layers on the rear of your seat cushion, about 5cm in from each corner. Make sure the bias binding is laying inside the sandwich.
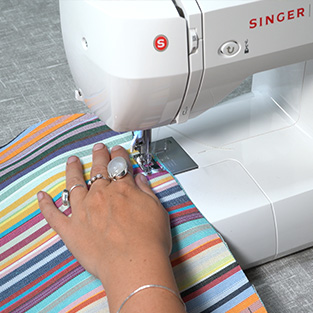
Step 4
Pin the bias binding in place and then pin around the entire seat cushion too, leaving a small gap on the rear edge.
Sew around the entire seat cushion, leaving the small gap open.
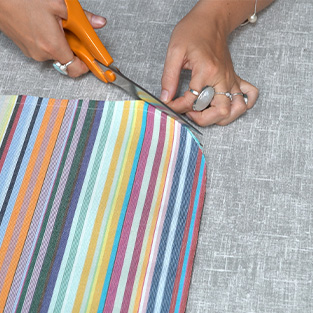
Step 5
Clip the pointed corners and cut slits in the rounded corners.
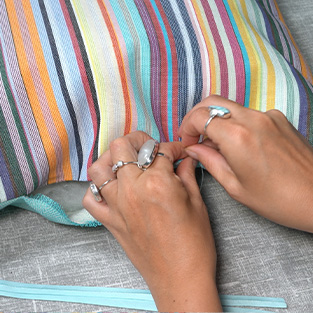
Step 6
Turn the cushion right sides out and fill the cushion with your wadding. Finally, hand sew the small gap closed with a slip stitch.


