


You Will Need:
- Washable Fabric
- Bias Binding or Strong Ribbon
- Scissors
- Thread
- Pins
- Tailors Chalk or Pencil
- Tape Measure
- Sewing Machine

Step One
To begin, cut out a 68cm x 50cm rectangle from your fabric. Now fold the fabric over lengthways with the right sides together.

Step Two
To create the top of the apron, measure from the top of the fold 10cm in and mark using a pencil or tailor’s chalk. As the fabric is folded, this will give a 20cm width.

Step Three
Measure 45cm high from the bottom of the fabric on the unfolded edge and mark.

Step Four
Next, freehand draw a curved line from the top mark to the other mark. This is to create the underarm section. Now cut out this shape through both layers of fabric by following the curved line.

Step Five
Hem around the edges of the apron by pinning the fabric 1.5cm. For the underarm sections, cut notches into the fabric – this is to help the fabric lay flat once hemmed. Now sew along all the edges on the sewing machine using ¼ inch seam allowance. It’s a good idea to use a thread colour as close to the fabric colour as possible.

Step Six
Now to make the pocket, cut out a 30cm x 19cm piece of fabric. Hem the top edge by pining over 1.5cm and sew on machine.

Step Seven
Hem the other 3 edges by 1.5cm and pin onto the centre front of the apron and 6cm from the bottom.

Step Eight
Top stitch around these 3 edges of the pocket on the machine using ¼ inch seam allowance.

Step Nine
Now to make the straps, cut out 2 x 90cm pieces for the back ties and 1 x 60cm piece for the neck strap. As we are using bias binding, fold the lengths in half and sew along the long edge on the machine.

Step Ten
For the back ties, find where the underarm curve meets the vertical line and pin one end in place repeat on the other side.

Step Eleven
Now for the neck strap, pin both ends of the strap to the either of the top corners of the apron.

Step Twelve
Now on the sewing machine, for extra strength sew the straps on by sewing each end with a square box with a cross through.
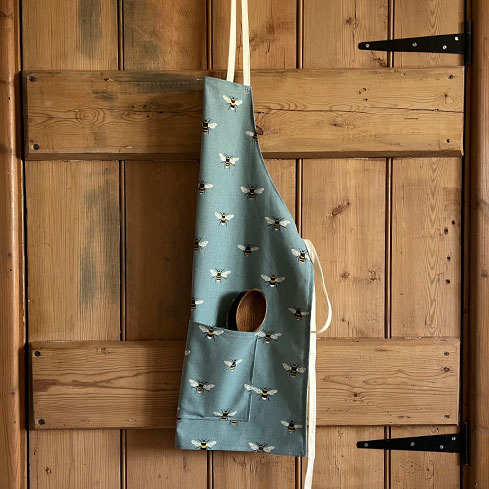
Your apron is now finished and ready to use!