How To Make An Outdoor Cushion Cover

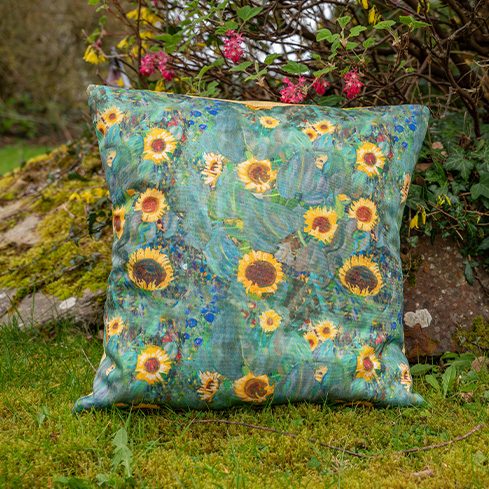
Are you looking to add a personal touch to your outdoor garden decor? Well look no further! This easy DIY outdoor cushion cover tutorial is an easy way to achieve just that.

This simple 5 step how to make an outdoor cushion cover guide is perfect for all level of sewers, including beginners and is a great way to add a touch of colour to your garden with this DIY furniture guide. This cushion cover is made without a zip and instead an envelope is created.

For this guide we used two of our water repellent and UV resistant outdoor fabrics, the Field Blooms Outdoor Fabric Multi and Salcombe Outdoor Fabric Canario.

Step 1

Step 1

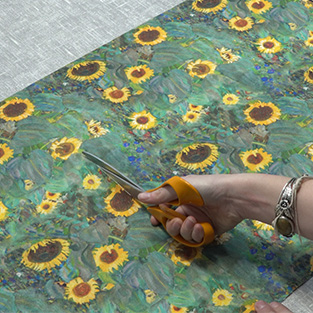
To start off, cut out your main fabric and secondary fabric. So, cut one 18 by 18 inch piece of your main fabric and two 13 by 18 inch pieces of your second fabric.
Step 2

Step 2

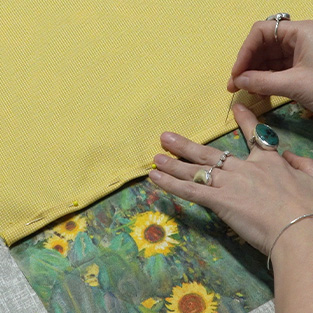
Now you need to hem one of the 18 inch edges on each of your secondary fabric pieces. Place the pieces right sides down and fold the raw edge over twice and pin in place.
Step 3

Step 3

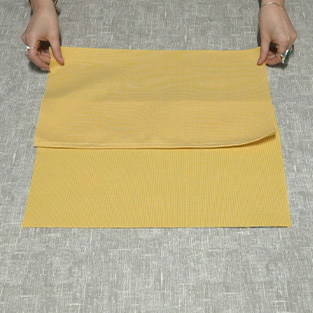
Next, you need to place the main fabric piece right side up and then take one of the smaller pieces, aligning the raw edge on the bottom of the main piece. Line the raw edge of the other small piece with the top of the main fabric piece.
Step 4

Step 4

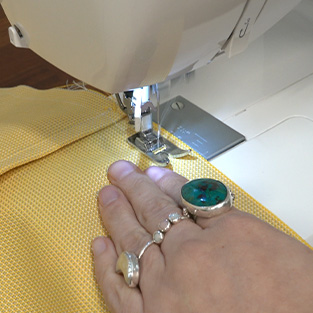
Pin around all the edges and sew.
Step 5

Step 5

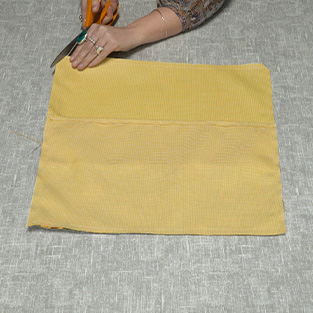
Clip the corners and turn right sides out. Insert your cushion inner and now you have you finished outdoor cushion.

(staging) Just Fabrics
We price match

Please get in touch with us on 01242 388390 and we can see if we can price match.