


Step 1
Firstly, make your stencil by drawing a triangle onto your cardboard or paper measuring 20cm at the top edge. Now mark halfway on this edge and measure down 26cm. Using a ruler, join up the sides to create your triangle. Now cut out this template.

Step 2
Next, use your template to cut out 4 triangles in each of your chosen fabrics. Use your chalk pencils to draw around your stencils on the fabric.

Step 3
Repeat this on all your other pieces of fabric to create alternating bunting. Now you have all your triangles.

Step 4
As we are making double sided bunting, place your fabrics right sides together for each triangle, making sure to line up the edges. Pin all the edges together, making sure to leave an opening so you can turn the triangle the right side around and sew using the sewing machine.

Step 5
Now cut the ends of the corners at a diagonal so they are easier to push out.

Step 6
Next, turn your triangles the right side around, use a point such as a pencil to push out the corners.

Step 7
Now turn the triangles the right side around, fold in the raw edges at the top and press with the iron. Repeat this with all the triangles.

Step 8
Attach the triangles onto the ribbon or bias binding by pinning to the top edge. Space out the triangles as far as you would like, we have used 11cm between each one.

Step 9
Now stitch along the entire edge of the bunting.

Step 10
For each one you can either stitch into a loop, leave it loose or tie a knot at the ends.

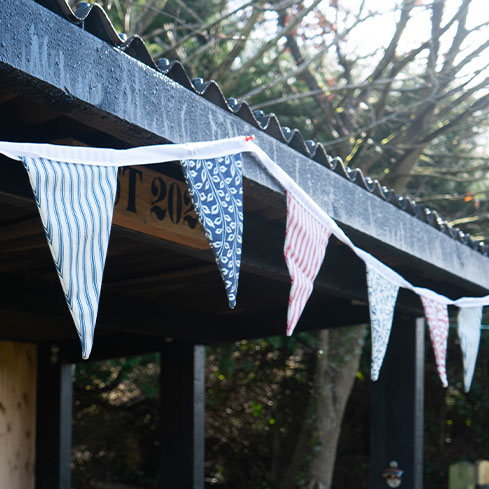
Finished Bunting
You now have your complete bunting! It's a great make for adding handmade decorations to parties.