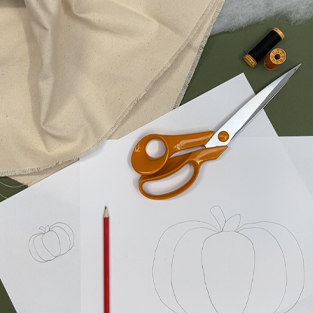
What you'll need:
- Plain fabric
- Thread
- Sewing Machine
- Scissors
- Pumpkin templates
- Wadding
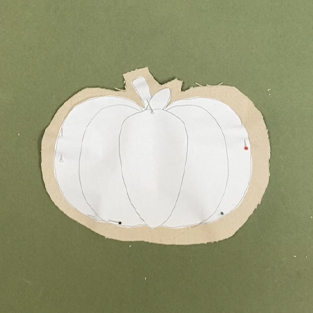
Step 1
Cut pumpkin templates out of paper, and lay onto base fabric. Cut approximately 2cms outside of your template following the shape of the pumpkin.
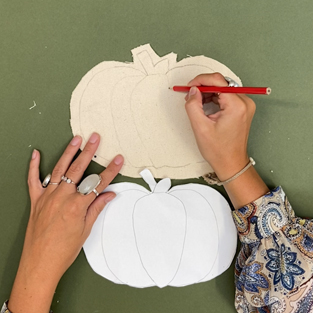
Step 2
Trace the outline of the template on to the fabric with pencil. Unpin the template from the fabric and draw the pumpkin detailing by hand, put to one side.
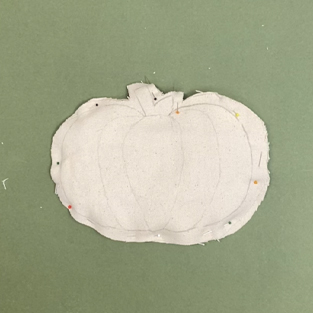
Step 3
Pin your pumpkin template to your wadding and cut around it. Then place the cut out wading between the two layers of your fabric, and pin together.
Step 4
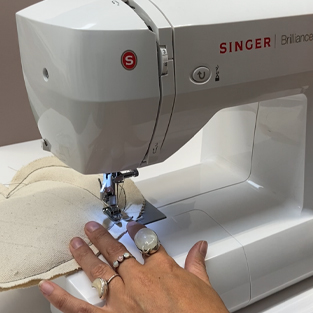
Now it's time to get your sewing machine out. Sew over your pencil markings in a contrasting thread, we've chose black thread on a natural fabric. Make sure you sew over the pumpkin detail, including the stalk.

Step 5
Finally, fray edges of fabric using a needle.


