


Step 1:
Firstly, you need to create your template. Our fabric cord keeper is designed to fit a pair of headphones or a phone cable – for this create your template 11cm x 6cm with a semi-circle on the shorter edges. This may be larger depending on how big you wish to make your fabric cord keeper.

Step 2:
Cut the template out and pin on your chosen fabric. You will need to do this twice so that you have two fabric pieces, front and back.

Step 3:
Now place the two fabric pieces right sides facing, and pin the outer edges together. Now sew around the outer edges leaving a 2 inch gap for opening and turning the fabric inside out.
Once sewn, turn the fabric the correct way around, you may need to use a pencil to push out the edges on the curve.
Pin the opening together, and sew all the way around the outer edge of your cord keeper.

Step 4:
Finally, cut 1 inch of Velcro and pin at the top and bottom of the fabric. Using your sewing machine, sew these in the place.

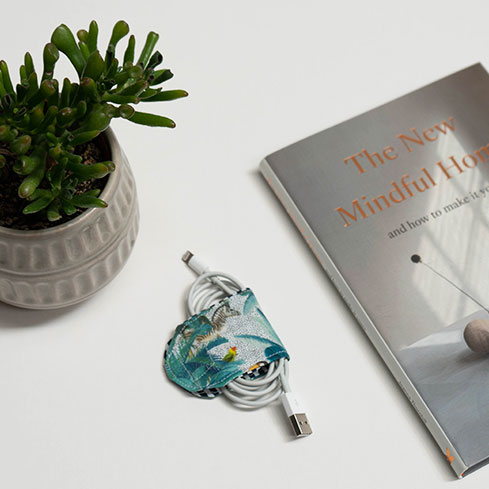
Step 5:
Now you have a completed DIY cord keeper! Consider using different designs and sizes to keep all your cables and cords neat and tidy. Great for headphones in your handbag or keeping cords at bay in a playroom.